About Digital Foil
Digital foil stamping creates stunning metallic effects with precision detail. Unlike traditional foil stamping which requires custom dies, HP Indigo's digital foil process enables foil effects on variable data and short runs with no setup costs.
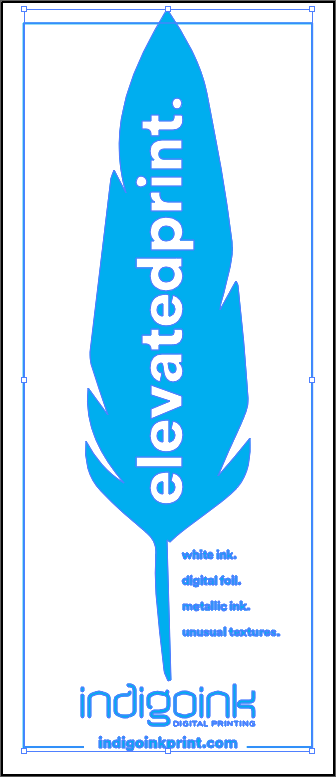
This sample showcases blue foil applied directly to a silk-coated substrate, demonstrating the clean, crisp edges achievable with digital foiling technology. The foil layer provides a brilliant metallic finish that catches light beautifully.
Best Practices
- Design for foil: Foil works best with solid shapes and bold typography. Very fine lines or small text may not foil cleanly.
- Substrate selection: Smooth, coated papers provide the cleanest foil adhesion. Textured or uncoated papers may show inconsistent coverage.
- Color interaction: Consider how the foil color interacts with your substrate. Blue foil on white paper creates a different effect than on colored paper.
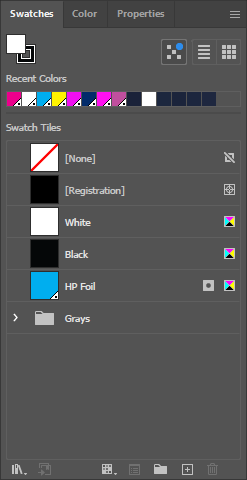
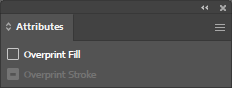
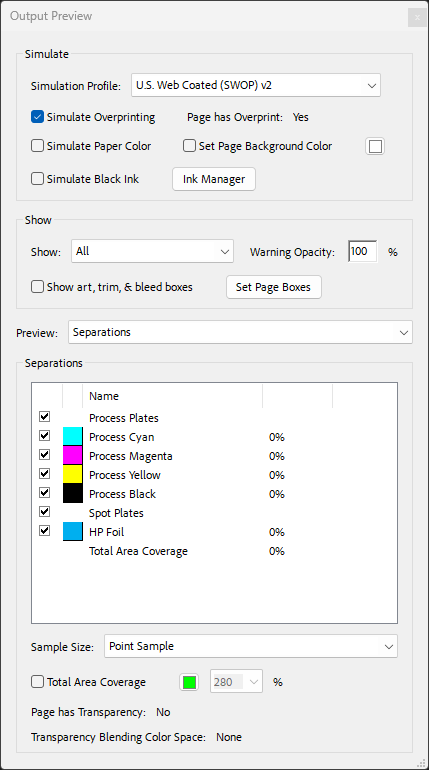
- File setup: Create foil areas as a spot color named exactly "HP Foil" for the press to recognize it.
File Setup
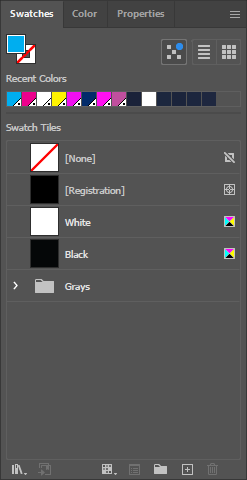
Digital Sleeking Foil Colors
Click any swatch to see a detailed sample. Our digital sleeking foil adheres to HP Indigo toner, enabling custom foil designs without costly engraved plates.