
About Gold Foil + Black Ink
Combining metallic gold foil with rich black ink creates a classic, elegant aesthetic that has been prized in luxury printing for centuries. HP Indigo's digital foil process brings this timeless combination into the digital age, enabling short runs and variable data with no setup costs.
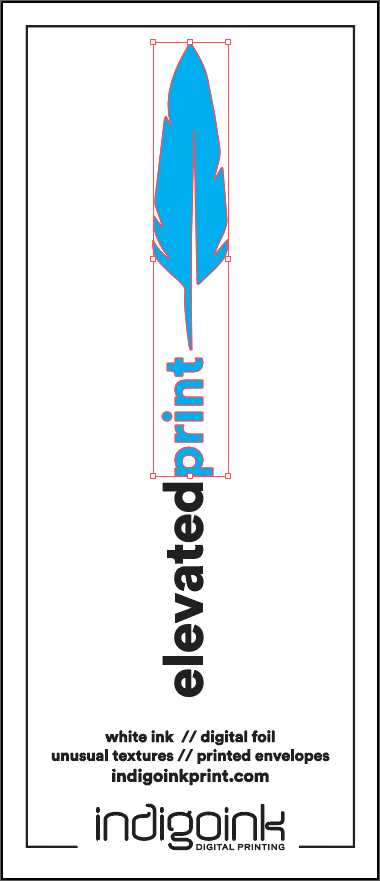
This sample showcases gold foil providing the luxurious metallic sheen while process black ink adds definition, contrast, and fine detail to the design. The interplay between the warm gold tones and deep black creates visual depth and sophistication.
Best Practices
- Design for contrast: Plan your design so gold foil and black ink complement each other. Use foil for highlights and accents, black for detail work and text.
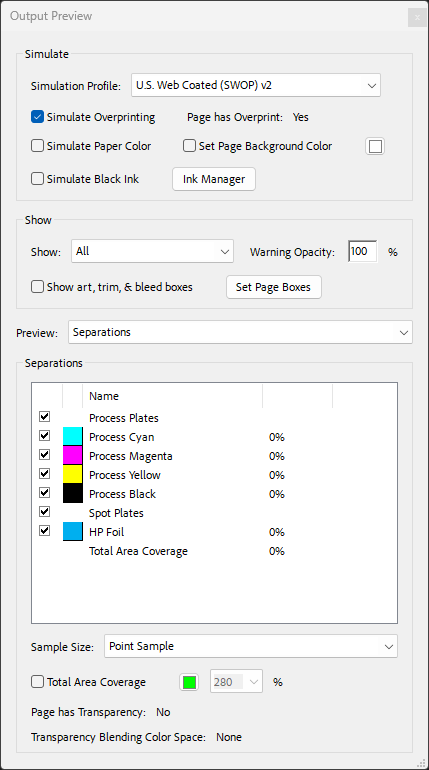
- Layer order matters: Gold foil prints first, then black ink prints on top. Design with this stacking order in mind.
- Registration: Allow slight overlap or trapping between foil and black ink areas to prevent gaps from minor registration shifts.
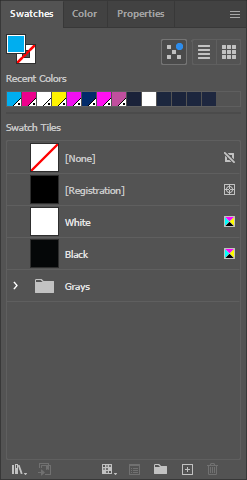
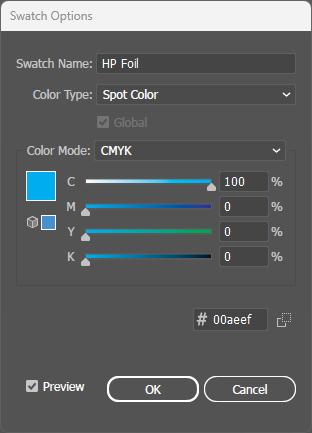
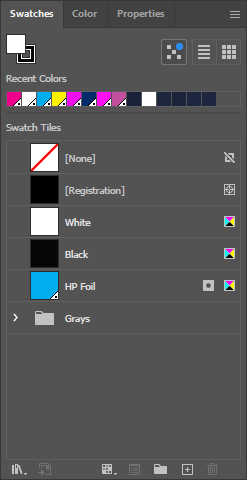
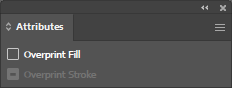
- File setup: Create foil areas as a spot color named exactly "HP Foil" - the black ink uses standard process black (K).
File Setup
Digital Sleeking Foil Colors
Click any swatch to see a detailed sample. Our digital sleeking foil adheres to HP Indigo toner, enabling custom foil designs without costly engraved plates.