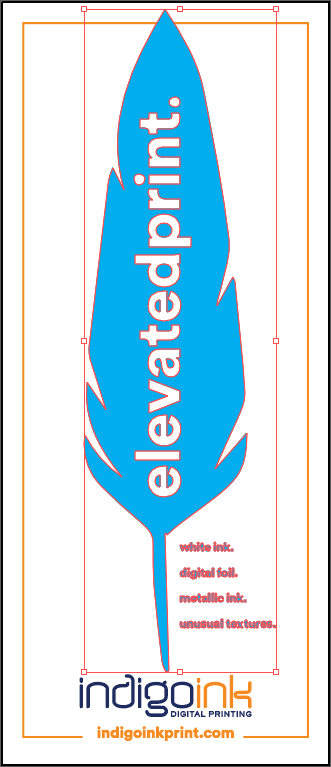


About Metallic Ink on Uncoated Stock
Uncoated paper stocks like Mohawk Superfine have an absorbent surface that can dull metallic inks. The paper fibers act like tiny sponges, pulling the metallic particles down into the surface rather than allowing them to lay flat for maximum reflectivity.
The solution is a white ink primer layer. HP White 1 prints first, creating a smooth, sealed surface on top of the paper fibers. The metallic ink then prints onto this primed surface, achieving the same brilliant shimmer you'd expect on coated stock while maintaining the tactile appeal of uncoated paper.
Best Practices
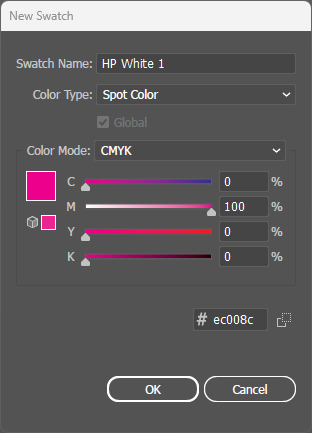
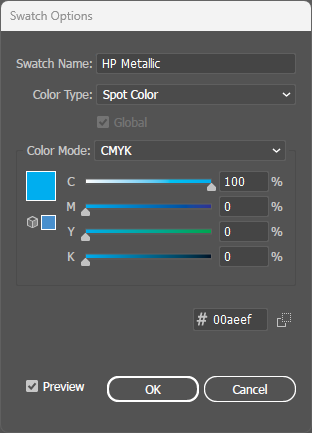
- Two spot colors required: This technique uses both HP White 1 (primer) and HP Metallic. Both must be created as separate spot colors.
- Spot colors above CMYK: All spot color layers must be positioned above the CMYK artwork in Illustrator's Layers panel for proper print order.
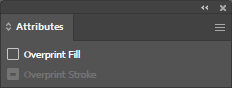
- Overprint both: Critical! Both HP White 1 AND HP Metallic must have Overprint Fill enabled in the Attributes panel.
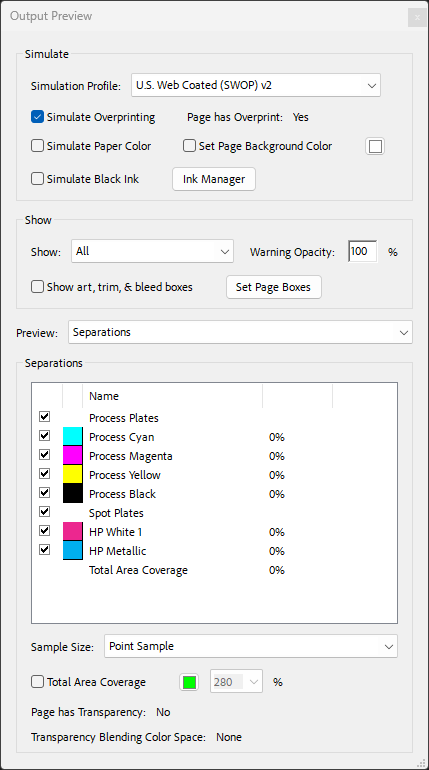
- Verify both separations: In PDF Output Preview, confirm you see both spot color channels (HP White 1 and HP Metallic) listed alongside CMYK.