About White Ink
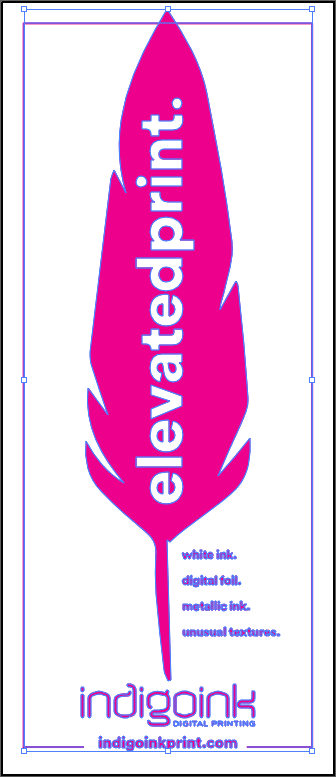
White ink enables printing on colored and dark substrates where traditional CMYK would be invisible or muted. HP Indigo's ElectroInk White provides excellent opacity in a single pass, creating stunning contrast against colored papers.
Unlike screen printing white, HP Indigo white ink can be applied with photographic precision - no minimum line weights, no registration issues, and full variable data capability.
Best Practices
- Substrate selection: Choose uncoated colored papers for best ink adhesion. Darker colors provide the most dramatic contrast.
- Ink coverage: A single white ink pass provides approximately 85% opacity. Consider multiple passes for 100% opacity on very dark substrates.
- Design considerations: White ink works best for solid shapes and bold typography. Fine details may require additional ink coverage.
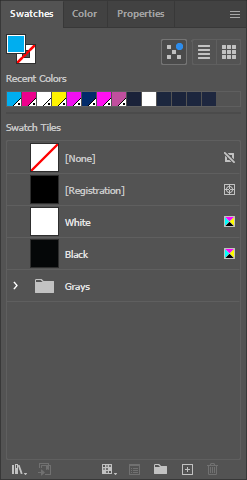
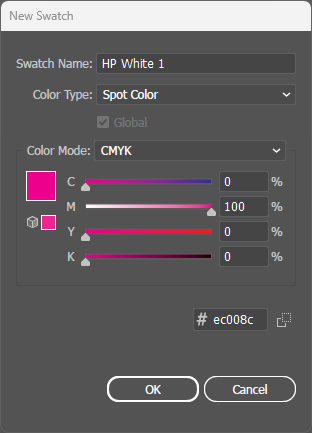
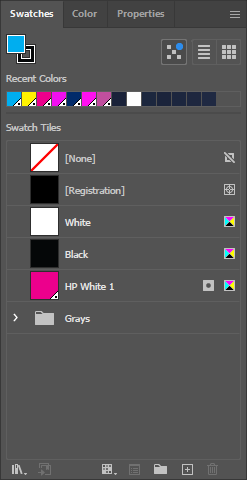
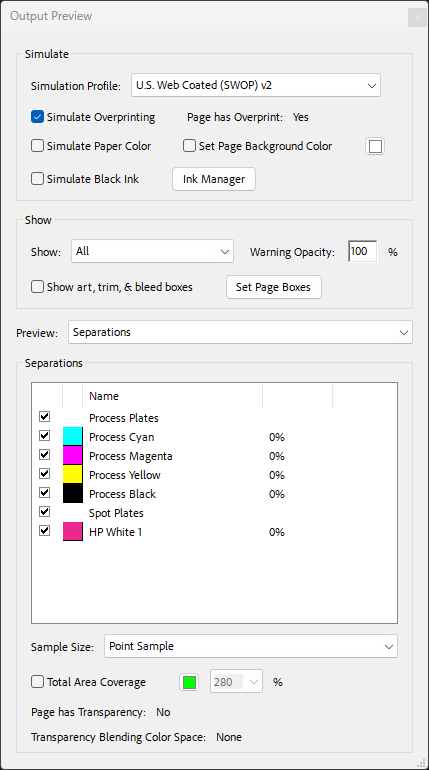
- File setup: Create white ink as a spot color named exactly "HP White 1" for the press to recognize it.