

About HP Indigo Textured Effects
Traditional embossing requires expensive dies, weeks of lead time, and minimum order quantities that make short runs impractical. HP Indigo Textured Effects changes that equation entirely. We can create raised and debossed patterns directly on the digital press, one sheet at a time, with the same file flexibility you expect from digital printing. No tooling, no setup delays, no minimum quantities.
The technique offers four distinct effects. Color Textured creates raised patterns on top of printed imagery for a 3D embossed look. Color Reverse Textured creates the opposite—a debossed, sunken appearance. Blind Textured adds raised texture without color, and Blind Reverse Textured creates an intaglio-style impression. One important consideration: when texture is applied to one side, the opposite side automatically receives the reverse effect. We can use this as a design feature for duplex projects.
The process works by building a temporary "mold" on a special impression surface using approximately 250 layers of yellow ink. As each sheet passes through the press, this mold imprints the texture pattern into the paper itself—the texture is created IN the paper, not on top of it. For raised effects, we then apply up to 50 layers of clear ink that sits ON TOP of the printed surface. The result is a piece you can feel as well as see, with dimensional elements that catch light at different angles.
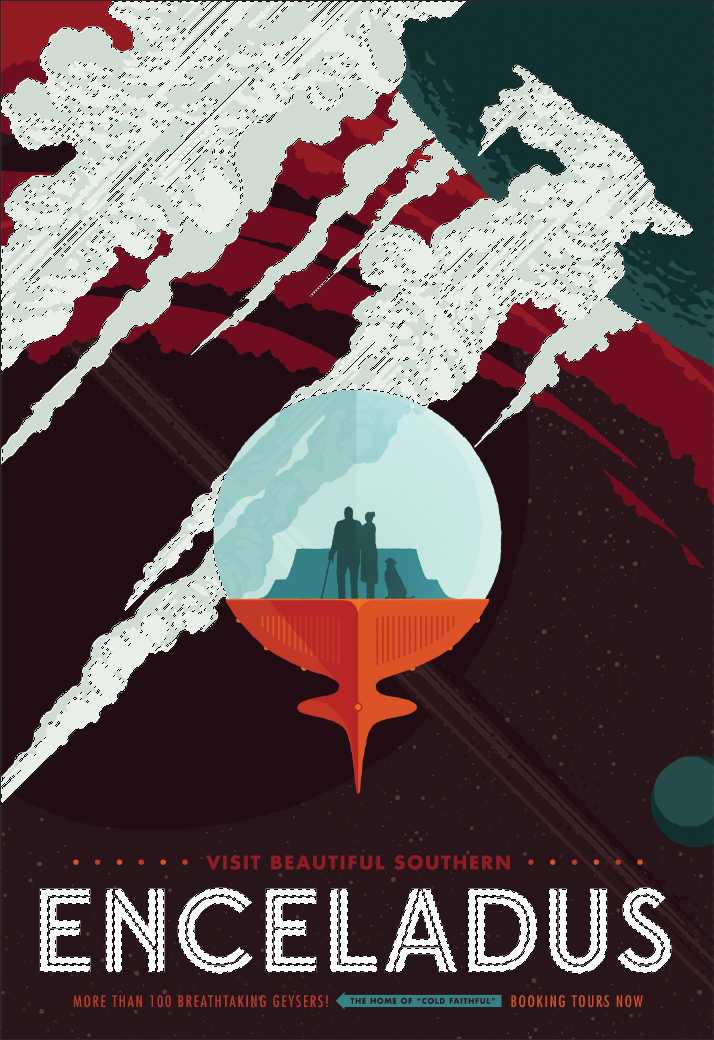
This Enceladus piece showcases the technique at its most sophisticated. The icy geysers and crystalline surface features use embossed texture to create depth, while raised clear ink adds tactile highlights that catch the light. Because every element is digitally controlled, we could produce this as a one-off prototype or a run of thousands—the economics work either way.
Why Digital Texture?
The cost structure of traditional embossing makes it impractical for many projects. Custom dies can run hundreds to thousands of dollars, with lead times measured in weeks. Setup charges apply regardless of quantity, which means short runs often aren't economically viable. HP Indigo Textured Effects eliminates all of that. Patterns are created digitally, setup happens in minutes, and we can run as few or as many sheets as the project requires.
The variable data capability opens up possibilities that traditional embossing simply cannot match. Each sheet can have a unique texture pattern—personalized invitations with individually embossed names, packaging with sequential numbering, or prototypes that let you test different approaches before committing. For designers exploring textured effects, we can produce samples with different patterns in the same press run to compare options.
We should be honest about limitations. The maximum texture height is approximately 100 microns— noticeable to the touch, but not as deep as traditional die embossing which can achieve 1mm or more. Registration between texture and printed image has a tolerance of ±0.7mm, so designs requiring perfect alignment between texture and fine detail may need adjustment. The substrate matters too: we need coated paper at least 180 microns thick to hold the texture reliably. And finishing processes that involve pressure—lamination, die-cutting, binding—may flatten or reduce texture intensity. When deep relief, long runs, or non-paper substrates are required, traditional embossing remains the better choice.
Best Practices
Design for Texture
- Use bold, simple shapes: Fine details don't translate well in texture. Keep pattern elements and line weights above 1mm for clear results.
- Maintain spacing: Pattern elements closer than 2mm apart may merge or appear muddy. Open, well-spaced designs produce the crispest texture.
- Add drop shadows: Including subtle shadows beneath textured elements in your artwork enhances the 3D illusion, especially when the piece is photographed or viewed at an angle.
- Leverage dark backgrounds: Textured effects appear most dramatic against dark colors. Light catches raised surfaces, creating natural highlights and shadows that pop against darker substrates.
File Setup Essentials
-
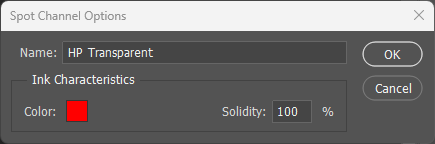
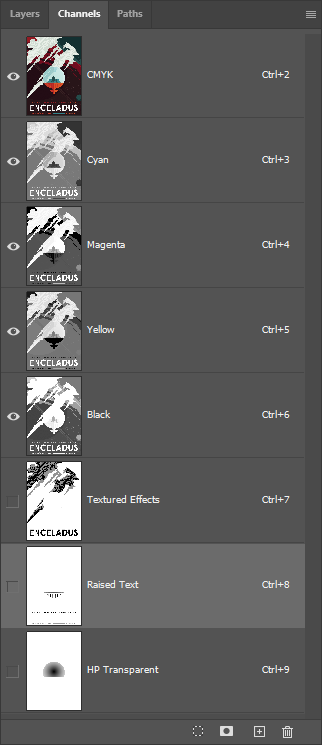
Name channels exactly: Spot color channels must be named
Textured Effects,Raised Text, orHP Transparent. These names are case-sensitive and must match exactly. - Set to overprint: All texture spot colors must be set to overprint other elements in your file.
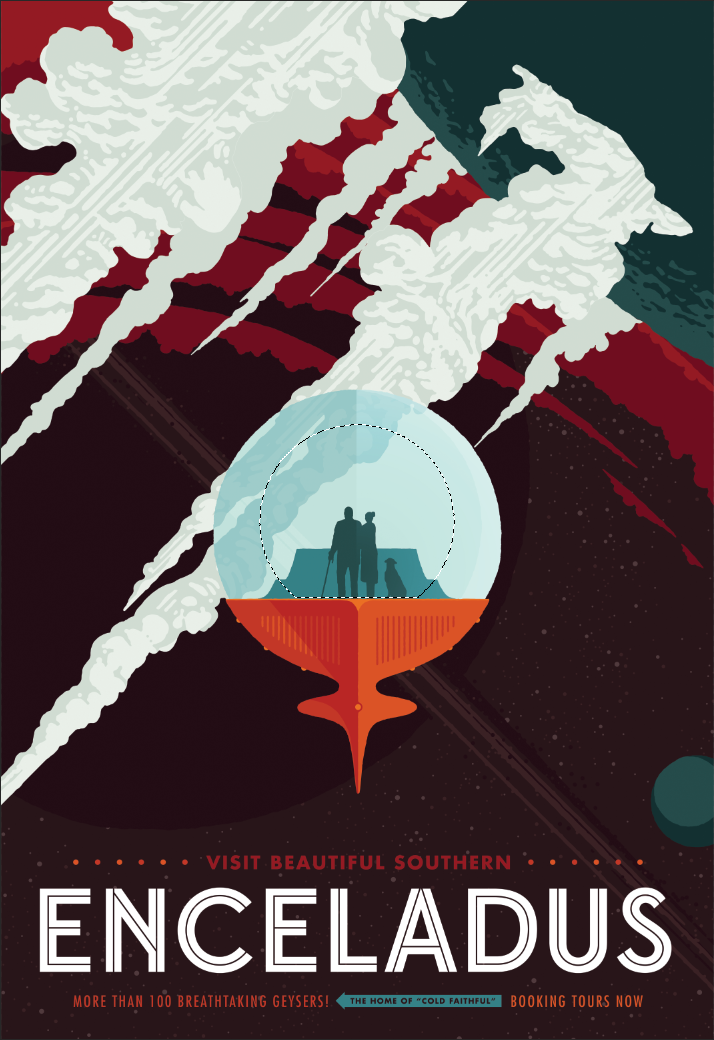
- Use separate layers: Keep each effect type on its own layer for clear organization. This makes it easier to adjust and verify coverage areas.
Substrate Selection
- Minimum 180 microns: All substrates must be at least 180 microns thick. Thinner stocks won't hold texture properly.
- Coated for Color Textured: Color Textured effects require coated paper. Uncoated stocks only support Blind and Reverse effect types.
- Thickness affects depth: Thicker paper produces less pronounced raised texture because the stock resists deformation. Reverse textured effects remain consistent regardless of thickness.
Common Pitfalls
- Too-fine patterns: Lines thinner than 1mm or elements spaced closer than 2mm will not resolve clearly. Test complex patterns before committing to production.
- Registration expectations: Texture-to-image alignment has ±0.7mm tolerance. Avoid designs that require perfect registration between texture edges and fine printed details.
- Post-print finishing: Lamination, die-cutting, and binding may flatten texture. If post-press finishing is required, discuss options with us before production.
- Plan for the reverse: Texture on side A creates a reverse impression on side B. Position textured areas to either leverage this effect or avoid conflicts with back-side content.