About White Ink on Metalized Board
When we first show clients this technique, they often assume we're working backward. With sleeking foil or hot stamping, you start with paper and add metallic where you want it. With metalized board, the entire surface is already reflective silver, and your job is to decide where to block it. That subtle shift in mindset makes this one of the most straightforward special effects we offer.
The layer stack tells the story: start with Hazen 16pt C2S Foil Board, a premium metalized substrate with exceptional stability. We apply HP White 1 first to create an opaque base wherever we need true-to-color imagery. The CMYK prints next, producing vibrant colors over the white and silver-tinted metallics where white was omitted. Finally, UV gloss coating seals everything, protecting the surface from scratches and adding a clean shine.
If you've read our guides on sleeking foil, you know registration is the recurring challenge. Paper shrinks under heat, and aligning foil over printed artwork across multiple machine passes requires precision that compounds with every step. Metalized board sidesteps all of that. The silver is already fused to the substrate, so there's no foil pass to align. We're printing ink on a stable surface in a single operation, which means the complex designs that would be painful in sleeking are straightforward here.
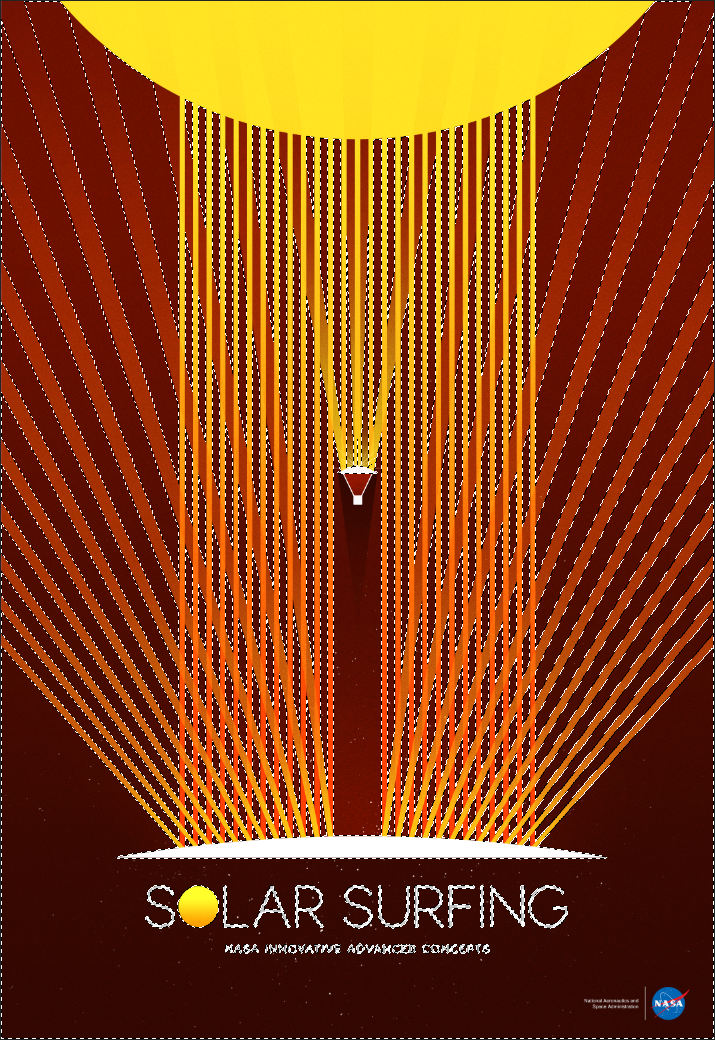
Pick up a finished Solar Surfing piece and the first thing you notice is the weight. 16pt board has presence. Tilt it toward the light and the silver areas flash like polished chrome, while the colors printed over white remain stable and true. The UV coating gives the entire surface a smooth, consistent feel that protects the metallic finish from fingerprints and handling marks. It's a piece that feels premium without requiring the multi-step complexity of foil application.
Why Not Just Use Sleeking Foil?
You might wonder why we'd choose a pre-metalized substrate when sleeking foil can add silver anywhere on the sheet. It's a fair question, and the answer comes down to what you're trying to achieve. Sleeking foil excels at adding metallic accents to an otherwise conventional printed piece. Metalized board is the better choice when the silver itself is a major design element, covering significant portions of the artwork.
Three factors make this our recommendation for silver-dominant designs. First, registration is a non-issue. There's no foil pass to align because the metallic is inherent to the substrate. Second, the silver coverage is perfectly consistent across the entire sheet, something that's harder to guarantee with applied foil, especially in flood areas. Third, we can apply UV coating as a protective layer. UV coating requires a gloss coated surface, so if you're sleeking foil on uncoated stock, this option isn't available.
That said, sleeking foil remains the better choice in several scenarios. If you need metallic accents on a specific paper stock, sleeking is the answer. If you want a true gold, copper, or rose gold metallic, foil will produce more accurate results. Foil also enables effects that metalized board simply can't replicate: holographic finishes, matte metallics, and that unmistakable foil shimmer. But don't overlook what CMYK can do on silver. By varying the ink builds, you can create the impression of gold, bronze, copper, and other metallic tones across a single sheet. The results aren't identical to foil, but they're often close enough, and you get the benefit of mixing multiple metallic colors without separate foil passes.
Best Practices
Design Considerations
- Design with the silver in mind: Areas without white ink will show metallic silver. Plan your artwork so these reveals feel intentional, not accidental. Use the silver strategically for highlights, borders, or as a background element.
- Embrace color shifting: CMYK printed directly on silver looks different than CMYK on white. Blues take on a chrome tint, yellows become gold-like, and reds gain warmth. Test critical colors before committing to a full run.
- Use contrast to your advantage: The most striking designs pair rich, saturated colors (printed over white) with selective silver show-through. High contrast between metallic and matte areas creates visual depth.
- Avoid unintentional metallic text: Small text printed directly on silver can be hard to read. Always back body copy with white ink for legibility.
File Setup Essentials
-
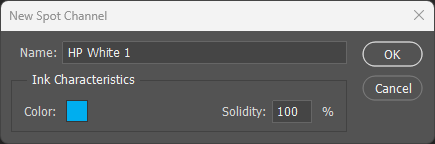
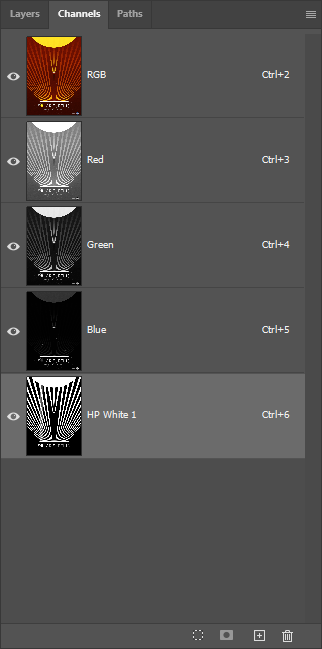
Name the spot channel exactly: The white ink spot color must be named
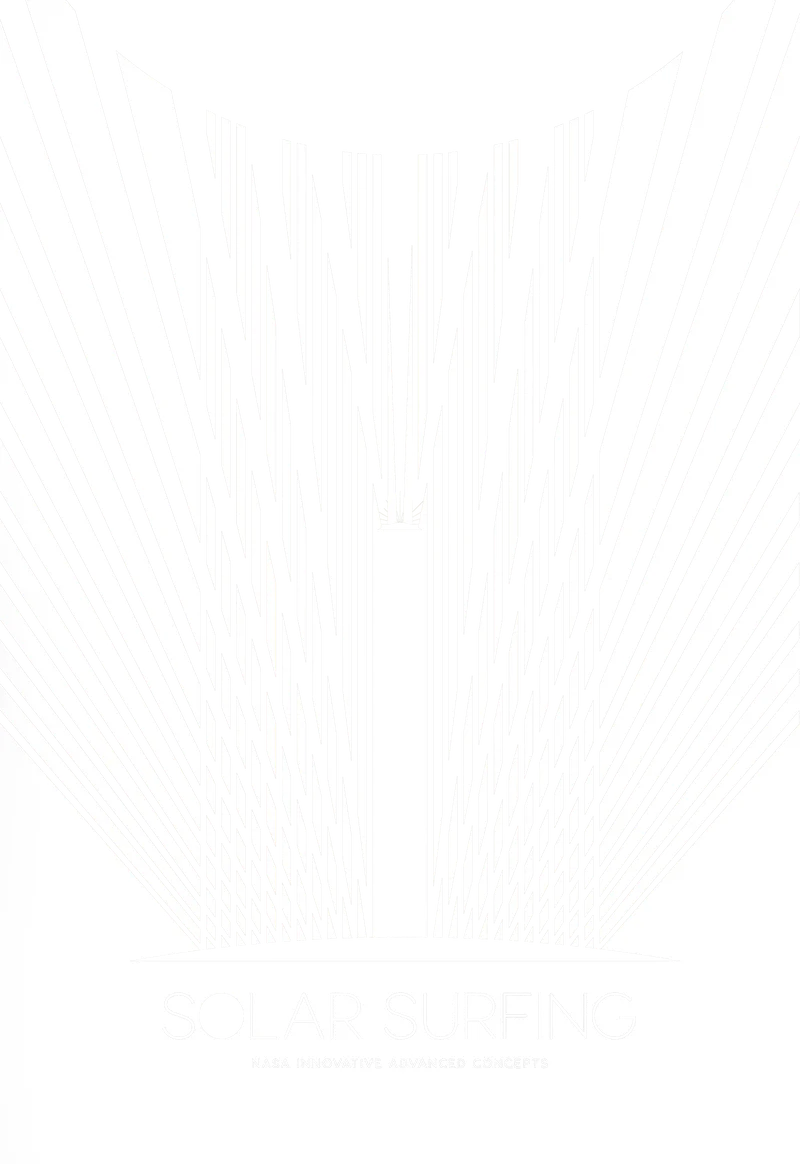
HP White 1(case-sensitive). The press recognizes this specific name and routes it to the white ink station. - White goes where you want opacity: Select all areas in your design that need true, non-metallic color. These become your HP White 1 channel. Everything else shows silver through the CMYK.
- Use a bold preview color: Set your HP White 1 spot channel to 100% cyan or magenta for easy visibility. The color you choose has no effect on printing; it's purely for file organization.
Substrate & Finish
- 16pt C2S provides stability: The Hazen board we use is 16pt caliper with a C2S (coated two sides) finish. This weight handles multi-pass printing without warping or registration drift.
- Always recommend UV coating: Metalized surfaces are more prone to scratching and fingerprints than conventional paper. UV gloss coating adds protection and extends the piece's lifespan, especially for items that will be handled frequently.
- Not all metalized boards are equal: Substrate quality varies. Some cheaper foilboards have adhesion issues with white ink. We've tested Hazen extensively; if you're sourcing elsewhere, request proofs.
Common Pitfalls
- Over-masking the silver: Covering nearly all the silver defeats the purpose of metalized board. If your design is 90% opaque, consider whether conventional paper with spot foil accents might be more cost-effective.
- Underestimating color shift: Bright colors become muted or metallic-tinted when printed on silver without white backing. Proof critical elements before production to avoid surprises. The shift isn't bad, it's just different, and should be part of the design intent.
- Skipping the UV coat: Without protection, the silver surface will show scratches within days of handling. Budget for UV coating on any piece that will be touched repeatedly.